Opti-Vibe Installation

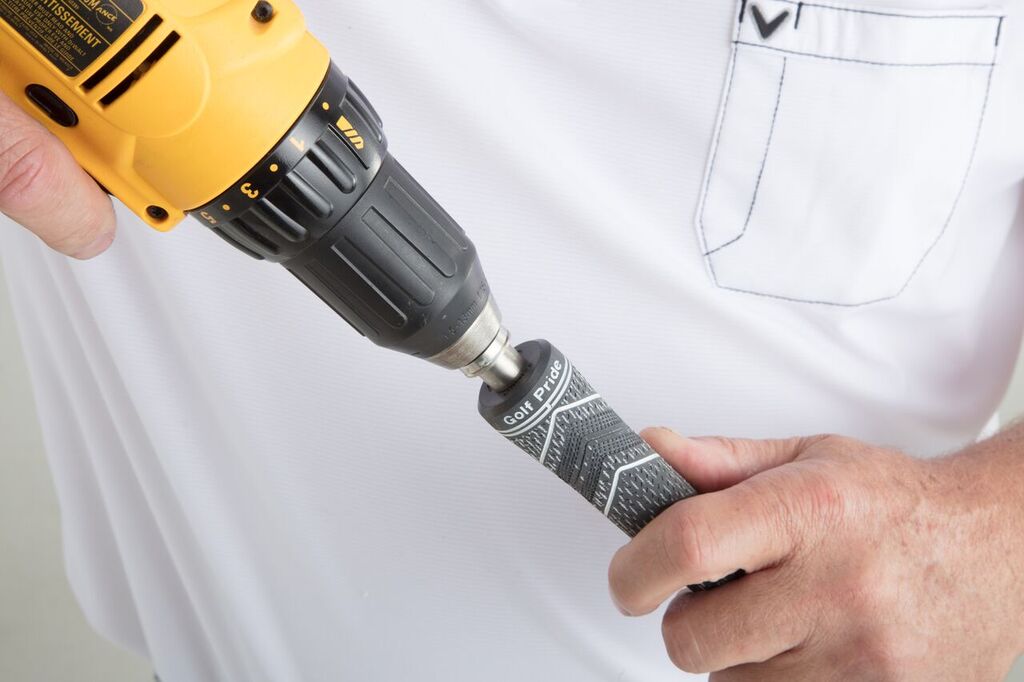
To begin, golf grips must first be modified with TourLock Grip Modifier tool in order to properly install TourLock® Opti-Vibe Golf Club Weights. Once modified, make sure inside of the shaft is clear and clean of any debris. The TourLock rotary file may assist in cleaning and removing old tape and other debris.
1 - Modify end of grip with TourLock® Grip Modifier.
See TLP Grip Modifier instructions.
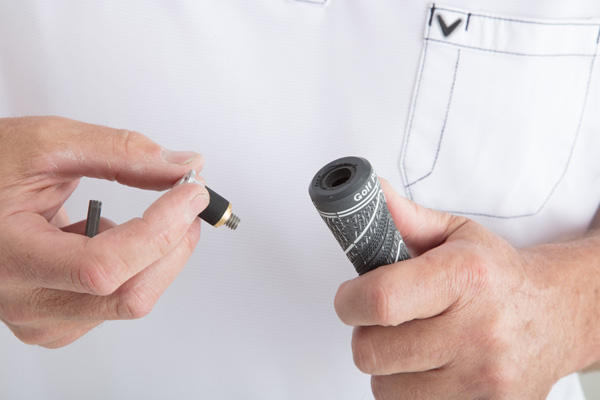
2 - With Dual tool, remove screw and locking plug from the opti-vibe weight.
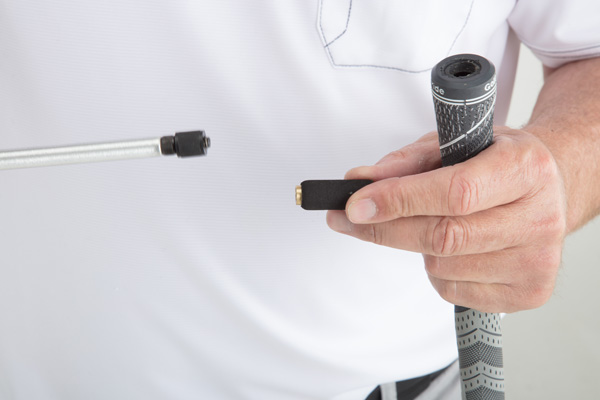
3 - Screw threaded side of the Opti-Vibe Dual Tool into Opti-Vibe counter weight until snug.
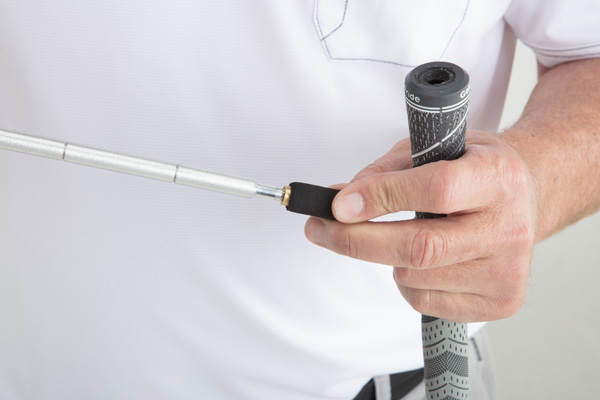
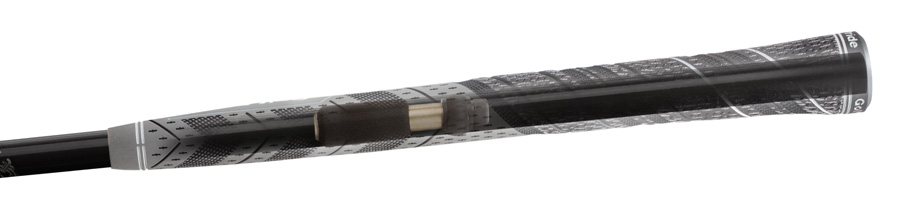
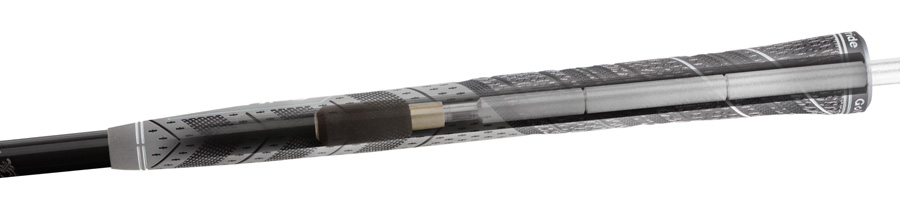
4 - With the Opti-Vibe Dual Tool, insert the Opti-Vibe counter weight through the “TourLock® Modified” hole in the butt end of the grip.
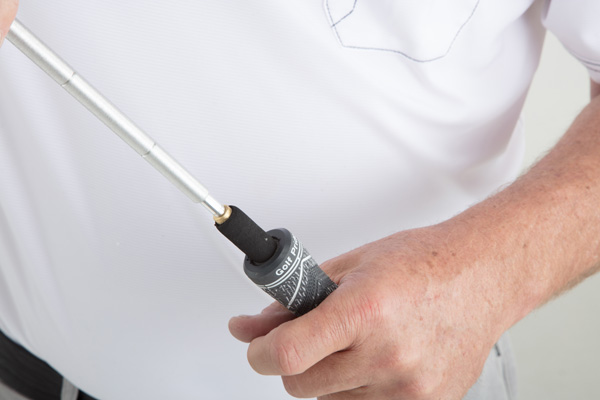
5 - Make sure to always turn clockwise when inserting, adjusting and removing Opti-Vibe golf club counter weights.
6 - Position the Opti-Vibe weight from 2″to 8″ into the shaft. The 2″ to 8″ space is the area between the lines on the Opti-Vibe Dual Tool.
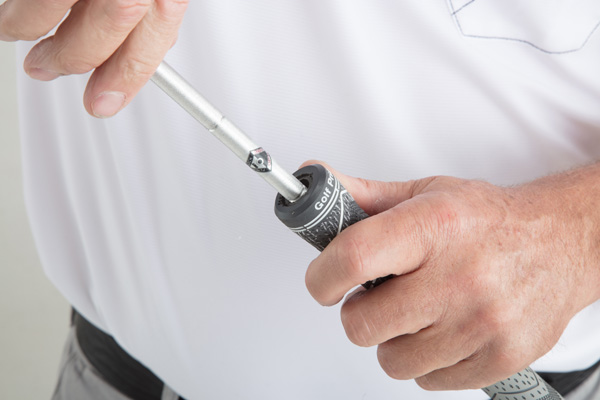
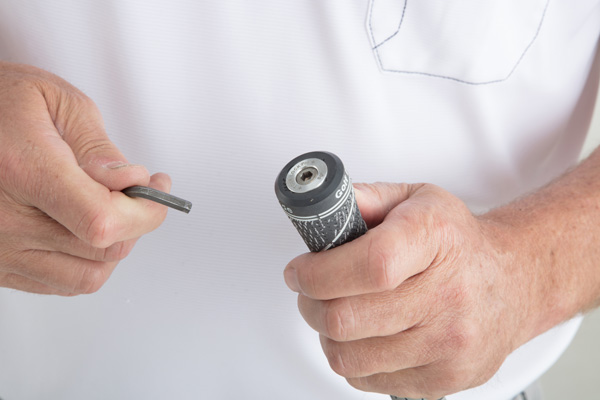
7 - Once the desired position of the Opti-Vibe weight is found, turn Dual Tool counter-clockwise to release from OPTI-VIBE weight.
8 - To remove or change the position of the Opti-Vibe weight, insert threaded end of Dual Tool and turn clockwise until snug.
9 - Continue to turn clockwise while moving Opti-Vibe weight.
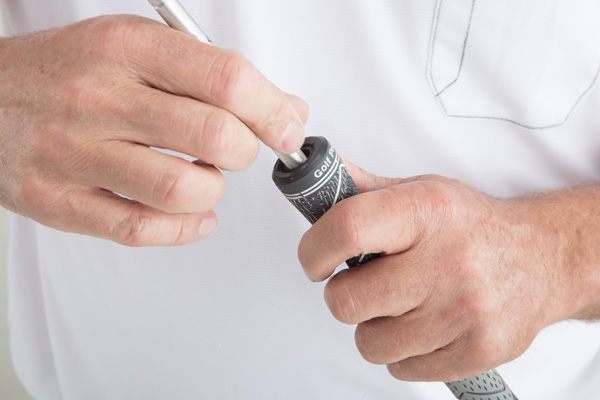
10 - To lock Opti-Vibe weight securely in place use magnetic tip side of Dual Tool. Use it to screw in Tour Lock® (locking plug) snug into the top end of the Opti-Vibe weight.
11 - Cap the hole in the grip with desired Tour Lock® Pro counter weight. The recommended weight to start with is 12 grams.
Installation Tip: In some cases, the Opti-Vibe weights will not be “securely snug” enough to fit in some shafts with larger inside diameters. If this is the case, wrap some electrical or adhesive tape around the foam portion of the Opti-Vibe weight until correct diameter is found and follow the above instructions.